Your Cart is Empty
Kitchen Furniture


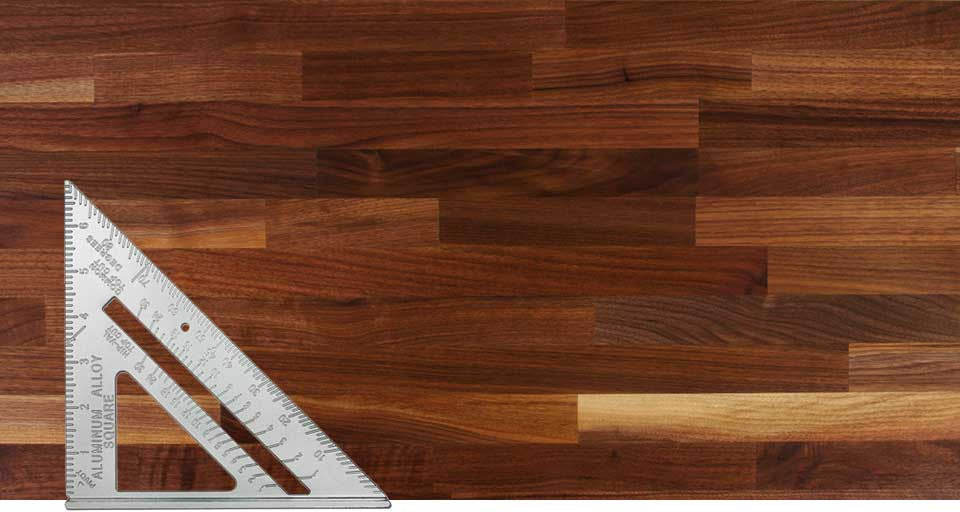
How to Install Butcherblock Countertop
Plan to do a DIY butcherblock countertop installation? Butcherblock tops are not difficult to install, but they require that care be taken to avoid common pitfalls..
We will summarize the directions provided by John Boos for countertop installation:
Inspection - Be sure to properly inspect your counter top or island top upon receipt. Any damage found must be noted at the time of delivery. In the event that you find damage after delivery it is imperative to notify the company from whom you purchased the top.
Acclimatization - Once received you need to give your block about 3 days to adjust to the temperature and humidity in your home, or wherever it will be installed. This allows the block to stabilize in its new environment. The best way to do this is to remove the packaging and place the block on 2 x 4's to allow air flow to both sides of the block. If you place the block directly on the floor, the block may cup as the top side adjusts to its new surroundings faster than the bottom.
Installation - When it comes to the installation itself, the most important thing to understand is that the block (and all natural hardwood products) will expand and contract throughout the year with changes in temperature and season. This make it critical to install it in a way that allows for expansion and contraction.
A Few Key Installation Related Points
- Do not install it over a solid underlayment. As discussed above, this will lead to an imbalance between the top and bottom that could lead to cupping or warping of the top. If your application has a solid underlayment, be sure to cut large holes in it to allow the free flow of air to the bottom of your block.
- Do not glue or silicone your top down as this will prohibit expansion and contraction.
- Only use enough fasteners to secure the block. Too many fasteners can keep the block from moving properly. A fastener at each corner should be sufficient.
- If there are joints in your countertop, do not glue them but rather use draw bolts as provided by John Boos, or consult an expert in your area.
- If your top includes an overhang of 8" or more you will need to add support in the form of brackets, legs, or corbels every 24".
Installation Steps: (diagram below)
- Drill pilot holes in the top for the screw. The pilot holes need to be as deep as the screws will go into the top to avoid splitting the wood. We recommend 5/32" pilot holes for #10 screws. In general you will want the screw to penetrate half the thickness of the top, with the exception of really thick tops like the 4" and 7" thick tops where 1" to 1 1/2" will be sufficient to hold them in place.
- Drill a 3/8" expansion hole hole in the subtop or screw block on your cabinet in the same location as the pilot hole. This larger expansion hole will allow the top to expand and contract once installed.
- Use a fender washer with your screw since the expansion hole will be larger than the head of the screw.
- Choose the appropriate length of #10 pan head screws to hold the top in place. As mentioned in step 1, the screw should penetrate about halfway through the top, so the length will depend both on the thickness of your butcherblock and the location of your subtop or corner block.

Installing Backsplash - Backsplash may be attached to the top before installation by drilling pilot holes and screwing through the bottom of the block into the backsplash. Alternatively, for backsplash only, silicone calk can be used to attach it.
Installing Around Appliances - You will need to take special care if you are installing countertop with a sink or stove cutout. Stove cutouts should be insulated to avoid transfering heat to the top, and sink cutouts should be installed with a rubberized joint sealant to allow expansion and contraction while protecting the block from moisture. Tops installed over a dishwasher must have vapor barrier to protect them from moisture.
Complete Installation Instructions from John Boos complete with Diagrams >>
https://www.johnboos.com/uploads/files/PDF/KCT-WARRANTYCARE.pdf
1 Response
Leave a comment
Comments will be approved before showing up.
April
May 09, 2023
Great information for those in the beginning thought process stage as well as for the DIY. folks. Thank you